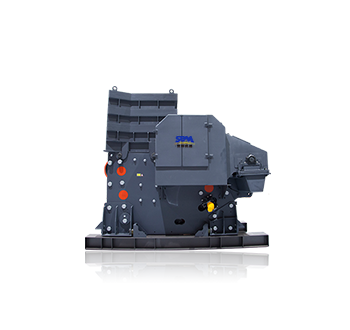
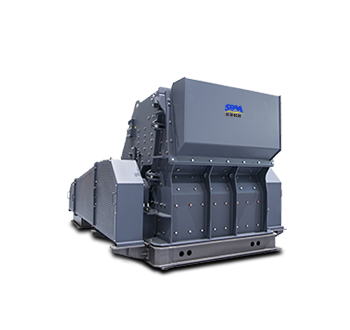
Summary:Step-by-step guide to properly install an impact crusher. Learn best practices for setup, safety checks & maintenance to optimize performance & longevity.
Installing an impact crusher correctly is crucial for ensuring optimal performance, safety, and longevity of the equipment. Impact crushers are widely used in various industries for their efficiency in reducing materials to desired sizes. However, improper installation can lead to significant operational issues, increased maintenance costs, and safety hazards.
This guide provides a comprehensive, step-by-step approach to installing an impact crusher, ensuring that all necessary precautions and best practices are followed. By adhering to these steps, operators can maximize the efficiency and reliability of their impact crushing operations.

Step 1: Pre-Installation Preparation
✔ Review Manufacturer’s Manual – Follow model-specific instructions.
✔ Inspect Components – Check rotor, blow bars, impact aprons, bearings, and hydraulic systems for damage.
✔ Prepare the Foundation
- Use heavy-duty reinforced concrete to handle dynamic loads.
- Ensure proper anchoring with high-strength bolts.
- Install vibration dampeners (if recommended).
Step 2: Crusher Assembly & Positioning
✔ Lift and Position the Crusher
- Use a crane/hoist to place the crusher on the foundation.
- Align level and square with laser tools or spirit levels.
✔ Secure the Base
- Tighten anchor bolts evenly to avoid distortion.
- Use epoxy grout for added stability (if required).
Step 3: Rotor & Wear Parts Installation
✔ Mount the Rotor
- Ensure proper balance (dynamic balancing may be needed).
- Check bearing alignment to prevent premature wear.
✔ Install Blow Bars & Impact Aprons
- Secure blow bars with lock wedges or bolts (follow torque specs).
- Adjust apron gap settings for desired output size.
Step 4: Drive System & Electrical Setup
✔ Install Motor & Belts/Pulleys
- Align motor pulley parallel to the crusher pulley.
- Check belt tension (avoid over-tightening).
✔ Electrical Connections
- Verify voltage, phase, and grounding.
- Install overload protection (thermal relays).
Step 5: Lubrication & Hydraulic Systems
✔ Grease Bearings – Use manufacturer-recommended lubricant.
✔ Check Hydraulic Systems (if applicable)
- Inspect hoses for leaks.
- Ensure proper pressure settings for adjusters.
Step 6: Safety & Final Checks
✔ Install Safety Guards – Cover belts, rotors, and moving parts.
✔ Test Run (No Load)
Run for 10–15 minutes to check:
- Unusual vibrations/noises.
- Bearing temperature (<70°C).
- Motor current (within rated amps).
✔ Test with Material
- Start with soft/medium material (e.g., limestone).
- Gradually increase feed rate while monitoring performance.
Critical Mistakes to Avoid
- ❌ Poor foundation → Causes misalignment and cracks.
- ❌ Unbalanced rotor → Leads to excessive vibration and bearing failure.
- ❌ Incorrect blow bar installation → Reduces crushing efficiency.
Maintenance Tips Post-Installation
- Daily: Check wear parts (blow bars, aprons), belt tension, and lubrication.
- Weekly: Inspect bearings and rotor balance.
- Monthly: Verify foundation bolts and hydraulic systems.
Proper installation of an impact crusher is essential for maximizing its performance and ensuring the safety of personnel involved in its operation. By following the outlined steps and avoiding common pitfalls, operators can set up their equipment for success. Regular maintenance and adherence to best practices will further enhance the longevity and efficiency of the impact crusher, leading to improved productivity and reduced operational costs. Investing time and resources into the correct installation process ultimately pays off in the form of reliable and efficient crushing operations.

